Updated for Flash Builder release version 🙂
Have a PHP application and want to create Adobe Flex front end? With Data Centric Development feature in Flash Builder 4 it’s very simple. This article explains communicating with PHP classes on the server using HTTP Service. Since its HTTP Service you will create a PHP file which will invoke the required PHP class and returns the data as either XML or JSON.
You can also invoke functions in PHP classes on the server from Flex application and get objects as response instead of invoking a JSP/Servlet which returns XML/JSON. Please find more details on invoking PHP methods from Flex application at this URL https://sujitreddyg.wordpress.com/2009/06/01/building-flex-application-for-a-php-class-using-flash-builder-4/
In this article we will be using getallcustomers.php file which will invoke getAllCustomers() function in CustomerService.php class (getAllCustomers function returns Customer class objects for each entry in the database) and returns the entries in the database in XML format. We will use Flash Builder DCD to create a Flex application which will consume the XML data returned by the server.
Install Flash Builder 4
Download and install Flash Builder 4 from this URL http://www.adobe.com/products/flashbuilder/
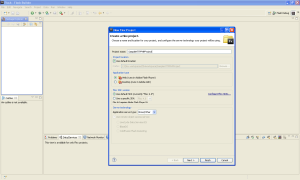
Create a new Flex project
Create a Flex project as shown in the image above.
Enter project details
In this screen:
- Set the project name to “SampleHTTPPHPProject”
- Set the Application type to “web (run in Adobe Flash Player)”
- Use default Flex SDK (Flex 4.0)
- Click on finish to continue
Using DCD to consume data returned by the PHP file
DCD or Data-Centric Development is one of the advancements to the Flash Builder 4. Let’s see how this is making developers productive. We will use DCD to consume the data from the PHP file.
Creating a service
- Select the Data/Services window shown in the image above. If this is not visible, select it from Window -> Data/Services
- Click on “Connect to Data/Service” (Highlighted in the image) in the Data/Services window
- Window as shown in the image below will be launched
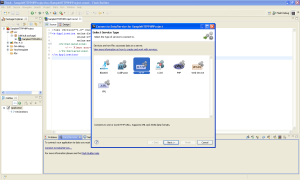
Selecting service type
Select HTTPService from the options and click on next button to continue.
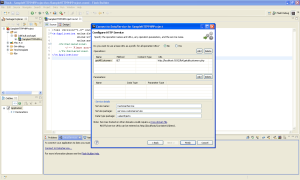
Setting service properties
A service can have any number of operations. Each service will be a class and each operation of a service will be a function inside the class. There is an URL associated with an operation, when the operation is invoked a HTTP request is sent to the corresponding URL. We will create a service and a operation to consume the data from the PHP file created above.
In this screen:
- Change the operation name to “getAllCustomers”
- Set the URL of the operation to http://<server-name>:<server-port>/<webapp-context>/getallcustomers.php in this sample it is http://localhost:9292/fb4/getallcustomers.php
- Since we are not expecting any parameters in the PHP file we will skip the parameters section
- Set the service name to “CustomerService”
- Click on finish button to create the service
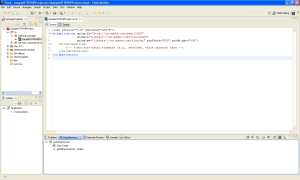
Service will be created and listed in the services explorer as shown in the image below.
Configuring return type
We will configure service to create an AS3 VO class based on nodes in the XML data returned by the PHP file. The VO class will be the return type for the operation. This will make coding easier, since it is easier to deal with strong typed objects than parsing the XML data.
Right click on the “getAllCustomers” operation and select “Configure return type” as shown in the image below.
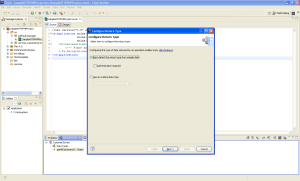
A window as shown in the image below will be launched with options to configure the return type. You can chose an existing data type or let the Flash Builder generate VO classes based on the response from the server. Let’s leave it to the Flash Builder to generate required VO classes based on the server response as shown in the image below.
Entering parameters required by the server
Our PHP class is not expecting any parameters, so we don’t have to pass any parameters in this step.
Flash Builder also allows you to give sample response rather than sending a request to the server to get the data. This will be useful when the server side code is not ready but you want to continue creating the Flex application without waiting for the server. Since we have the server ready in our case, let’s send a request to the server and configure return type. Click on next to continue.
You can see the response from the server in the window as shown in the image below.
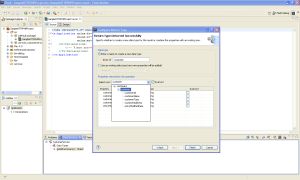
Flash Builder parses the XML data returned by the server and displays the same as shown in the image above. You can select the XML node based on which you want the return type AS3 class to be generated. In this step, you can choose to create a new data type or merge the properties to existing AS3 class.
In this screen:
- Select the “customer” node
- Click on finish to continue
You can see the return type of the operation in the “data/services” panel changed as shown in the image below. When we invoke the “getAllCustomers” operation, response will be object of the type “Customer” will be created based on the response from the server and returned.
Binding data/service to UI controls
We usually write code to display the response from the service in a DataGrid or any other control. Flash Builder 4 has an awesome option which allows you to just bind a service response to a control.
In this screen:
- Switch to design view
- Change the Application layout to “spark.layouts.VerticalLayout” using the properties panel
- Drag and drop a “DataGrid” from the “components” panel on to the design area
- Set the width and height properties of the “DataGrid” to 100%
Right click on the DataGrid and select “Bind to Data …” as shown in the image below
A window as shown in the image below will be launched.
In this screen:
- We select a “New service call” because there are no existing services in the current application.
- Select the “CustomerService”
- Select “getAllCustomers():Customer[]” from the operations list
- Click OK
You can see the DataGrid in the design updated with properties of the Customer object as shown in the image below.
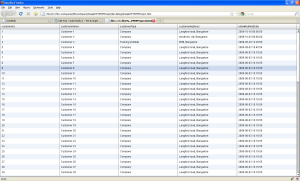
Save and run the application, you can see the data retrieved from the Remoting service and displayed in the DataGrid as shown in the image below.
More article on using Flash Builder 4 https://sujitreddyg.wordpress.com/flash-builder-4/
That’s it we created a Flex UI for a PHP file exposed as HTTP Service using DCD features in Flash Builder. Flash Builder 4 rocks 🙂









 Posted by Sujit Reddy G


